


Easy Sourdough Starter for Beginners
A foolproof sourdough starter for those who are just picking up baking and/or you are mathematically challenged! This is an easy and delicious recipe that you can maintain and continue to use!

Notes before beginning: This is a basic sourdough starter intended to help new or advancing bakers comfortable with the bread making process. The most important thing to remember with a sourdough starter: a consisting feeding schedule. The process to make this starter is about 7 days. On day 7, (if steps are followed properly and consistently) you will have an active, ready to use sourdough starter. Throughout these 7 days, try to feed your starter roughly at the same time. Please do not rush this process, a sourdough starter needs time to activate, ferment and grow. And what I love about a sourdough starter , once you hit day 7, you can continue feeding it and then enjoy the fruits (aka bread) it bears! If fed properly and continuously, sourdough starters can last years :)
What you need:
plastic wrap
basic rubber band (even a hair tie or scrunchie will do)
(filtered) water
Day 1:
60g bread flour
60g water
Using your digital scale to measure, add the bread flour and water to your mason jar. Using the rubber spatula mix everything well. Cover with plastic wrap or loosely cover with the mason jar lid. Set the mason jar to the side (ideally in a place that is 70-75 degrees). Let the starter rest for 24 hrs. *Note: you can place a rubber band around your jar when you start the feeding. This shows the growth of the starter. I typically place my band at the starter line and then overnight, I can see how much the starter rises. Additional note: you may not see much growth from day 1-2. Thats totally normal!


Day 2:
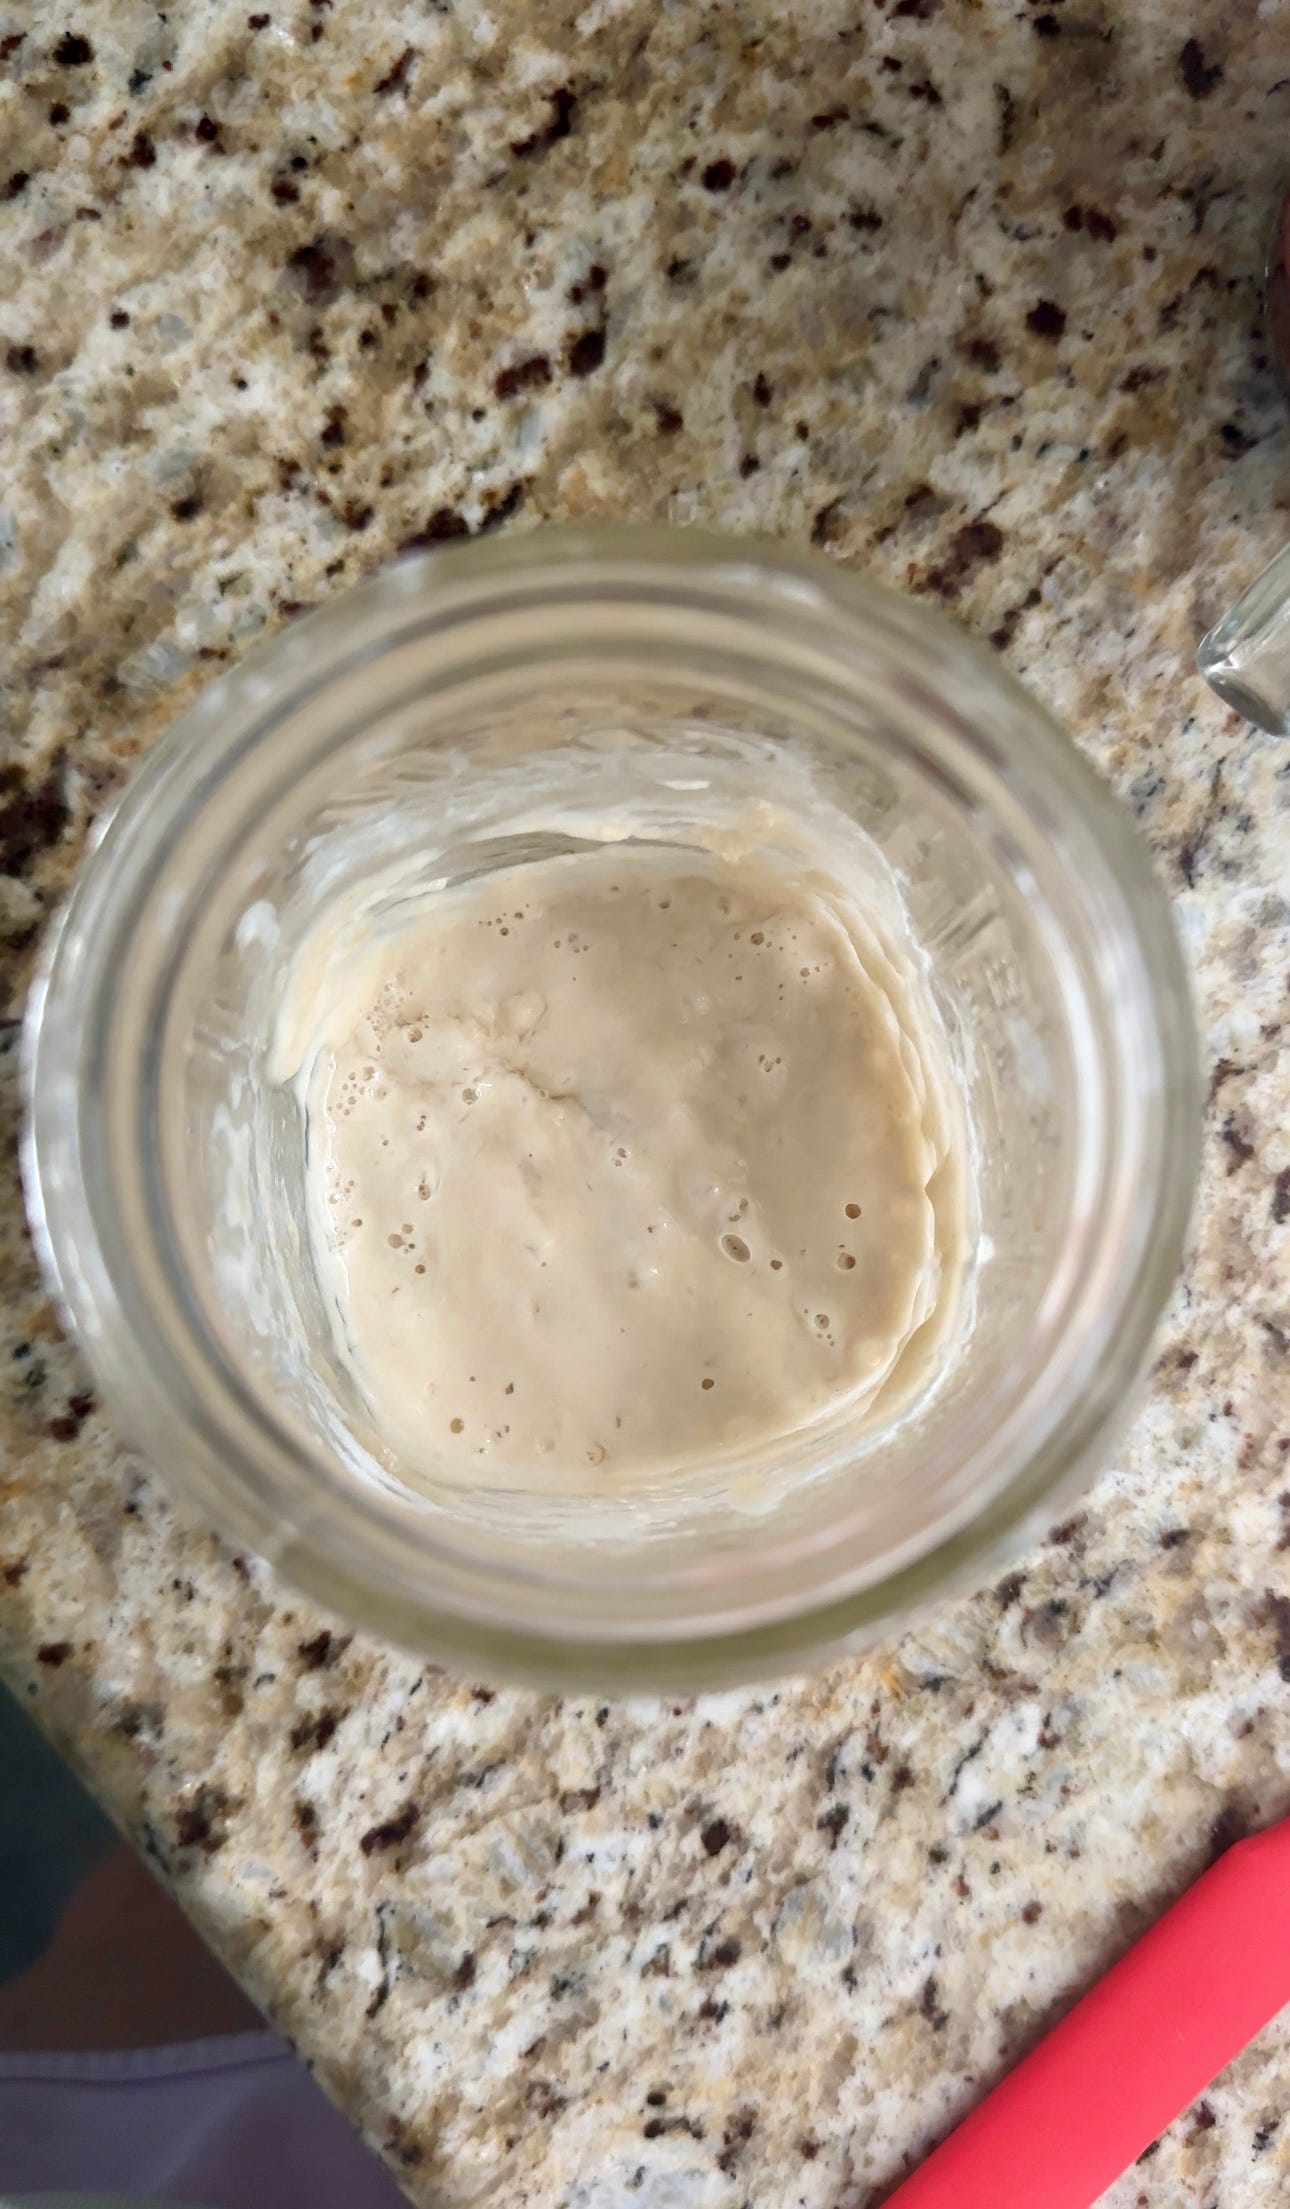
Do nothing except observe. :-) When using this bread flour in my starter, I notice a little rise after the first day, maybe a few bubbles. But the goal of day 2 is to let the starter activate.
Day 3:
Now we begin the discard and feeding stage. On day 3, you will notice probably more bubbles and a rise. We want to discard about 60g of the starter. I usually throw this discard away as the starter is not mature enough yet to use in baking. Once you discard the 60g of starter, feed the starter 60g of bread flour and 60g of water. Mix well with the rubber spatula. To the best of your ability, scrape down the sides of the jar to incorporate everything. Cover and let the starter rest for another 24 hrs.
Day 4:
On this day your starter will weigh approximately 130g (you can test this by pouring your starter into a fresh bowl to measure the approximate weight). At this point, we want to discard half of this ~130g. Once you have discarded half, add 60g of bread flour and 60g of water. Mix well, cover and let the starter rest for another 24 hrs.
Day 5:
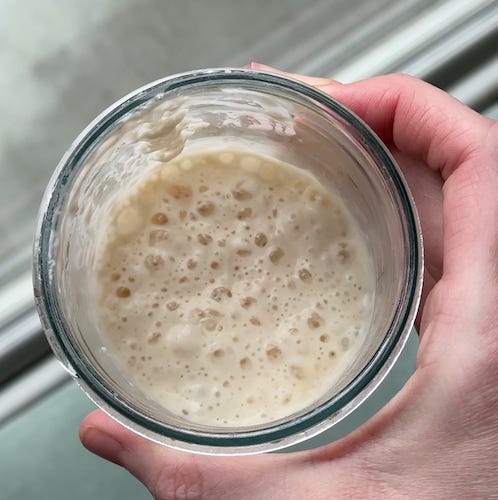
By day 5, you should start to see large and small bubbles and decent rise in your starter. Eventually, after the starter rises, it will collapse. And not long after that collapse, you will discard and feed that starter again. Use the same method of measuring the starter in a separate bowl, discard half of the starter and feed it with 60g of bread flour and 60g of water. Mix well, cover and let the starter rest for another 24 hrs.

Day 6:
Same as day 5. You will still see large and small bubbles and decent rise in your starter. Use the same method of measuring the starter in a separate bowl, discard half of the starter and feed it with 60g of bread flour and 60g of water. Mix well, cover and let the starter rest for another 24 hrs.
Day 7:
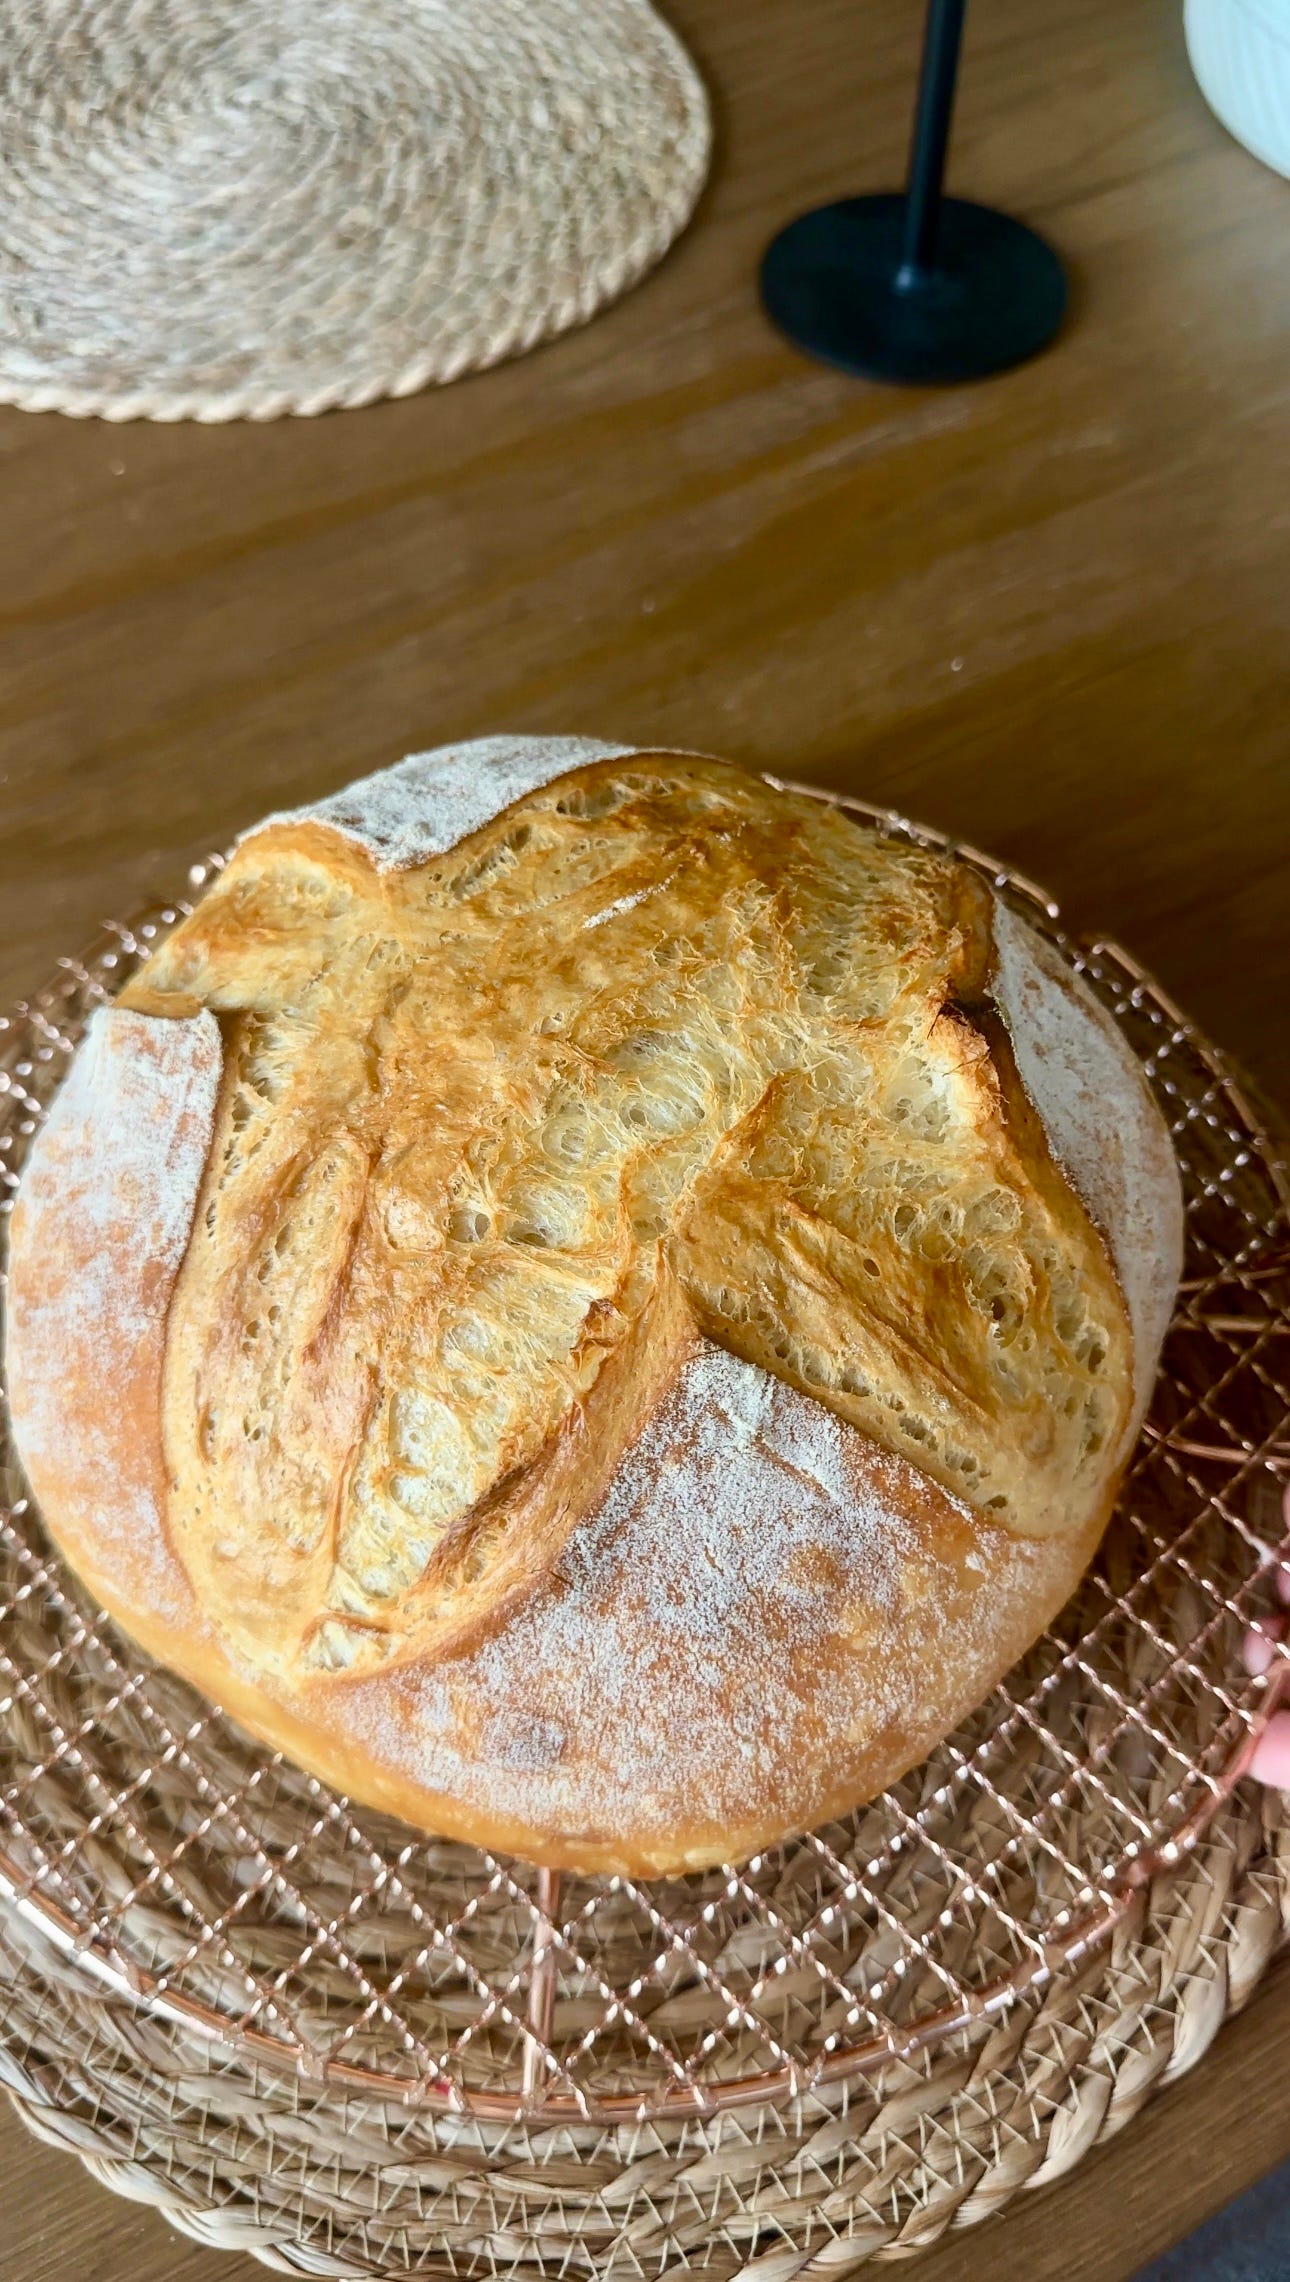
Congratulations! You’ve made it! Your starter should be active, tall and ready to use for your first sourdough! Your starter should weigh around ~230-236g if feeding time and measurements were followed. On day 7, feel free to use 100g of the starter for the sourdough recipe I have linked above. Then, as previously outlined, feed your starter 60g of bread flour and 60g of water. Stir, cover and rest again.
Here is an image of my first sourdough with a 7 day starter!
FAQ’s
Q: What happens after day 7?
A: You will maintain a proper feeding schedule. What does that look like? For me, I bake bread about 1x a week. So once I use the discard and replenish my starter, I place it in the fridge until I’m ready to use it again. I try to consciously use 100g of the starter every week in my sourdough loaf. After I take out 100g, I feed it 60g of bread flour and 60g of water. Stir it, cover it and place it in the fridge until the following week. If you plan to bake daily or more than once a week, you will need to feed the starter multiple times a week. For that kind of routine, you can keep your starter at room temperature. My typical feeding schedule is 60g bread flour and 60g water after I use approx 100g of the starter. This method has worked for me. You will find what works best for you.
Q: What can I do with the discard each time?
A: Use it in bread, pancakes, biscuits, cookies whatever you choose! The flavor of the sourdough discard adds a wonderful flavor to any baked good!
Q: How often should I clean out my sourdough jar/container?
A: If you can, clean your jar every 1-2 weeks or so. Admittedly, sometimes I let my starter sit in the same jar for longer, and it is fine. However, I would recommend trying to clean it at least every 2 weeks. The tipping point for me, is when gunk and flakes cake to the top of the mason jar… then I know it is time for a cleaning. To clean, simply place your starter in a clean bowl, wash your jar, dry the jar and then place the starter back inside.
Q: Why does my loaf not taste very sour?
A: Your first loaf of sourdough will be young (so to speak) meaning, that there may not be an intense sourdough flavor just yet. This is normal! Your starter needs more time to mature. The more time and feeding, the more sour and complex your starter will become and your bread will taste!